Introduction
Lighting plays a crucial role in photography, and a
proper Godox light setup can make all the difference in achieving professional-quality shots. Whether you are a
portrait photographer, a
product photographer, or setting up a
studio, understanding how to arrange and adjust your lighting is essential.
In this guide, we’ll walk you through the
step-by-step process of setting up Godox lights, including
softboxes, light stands, and modifiers, to help you capture stunning images with
optimal brightness, contrast, and shadows.
What is a Godox Light Setup and Why Does it Matter?
Godox is a leading brand in professional lighting equipment, offering
studio lights, flashes, softboxes, and modifiers. A well-planned
Godox light setup ensures
proper exposure, reduced shadows, and enhanced subject details. Whether using
Godox AD200, SL60W, or SK400II, knowing how to position and adjust them will elevate your photography skills.
How to Set Up Godox Lights
Step 1: Choose the Right Godox Light
Depending on your photography needs, select a
Godox light that suits your setup:
- Godox AD200/AD200 Pro – Ideal for portable, off-camera lighting.
- Godox SK400II – Best for studio setups with consistent light output.
- Godox SL60W – A great budget-friendly option for continuous lighting.
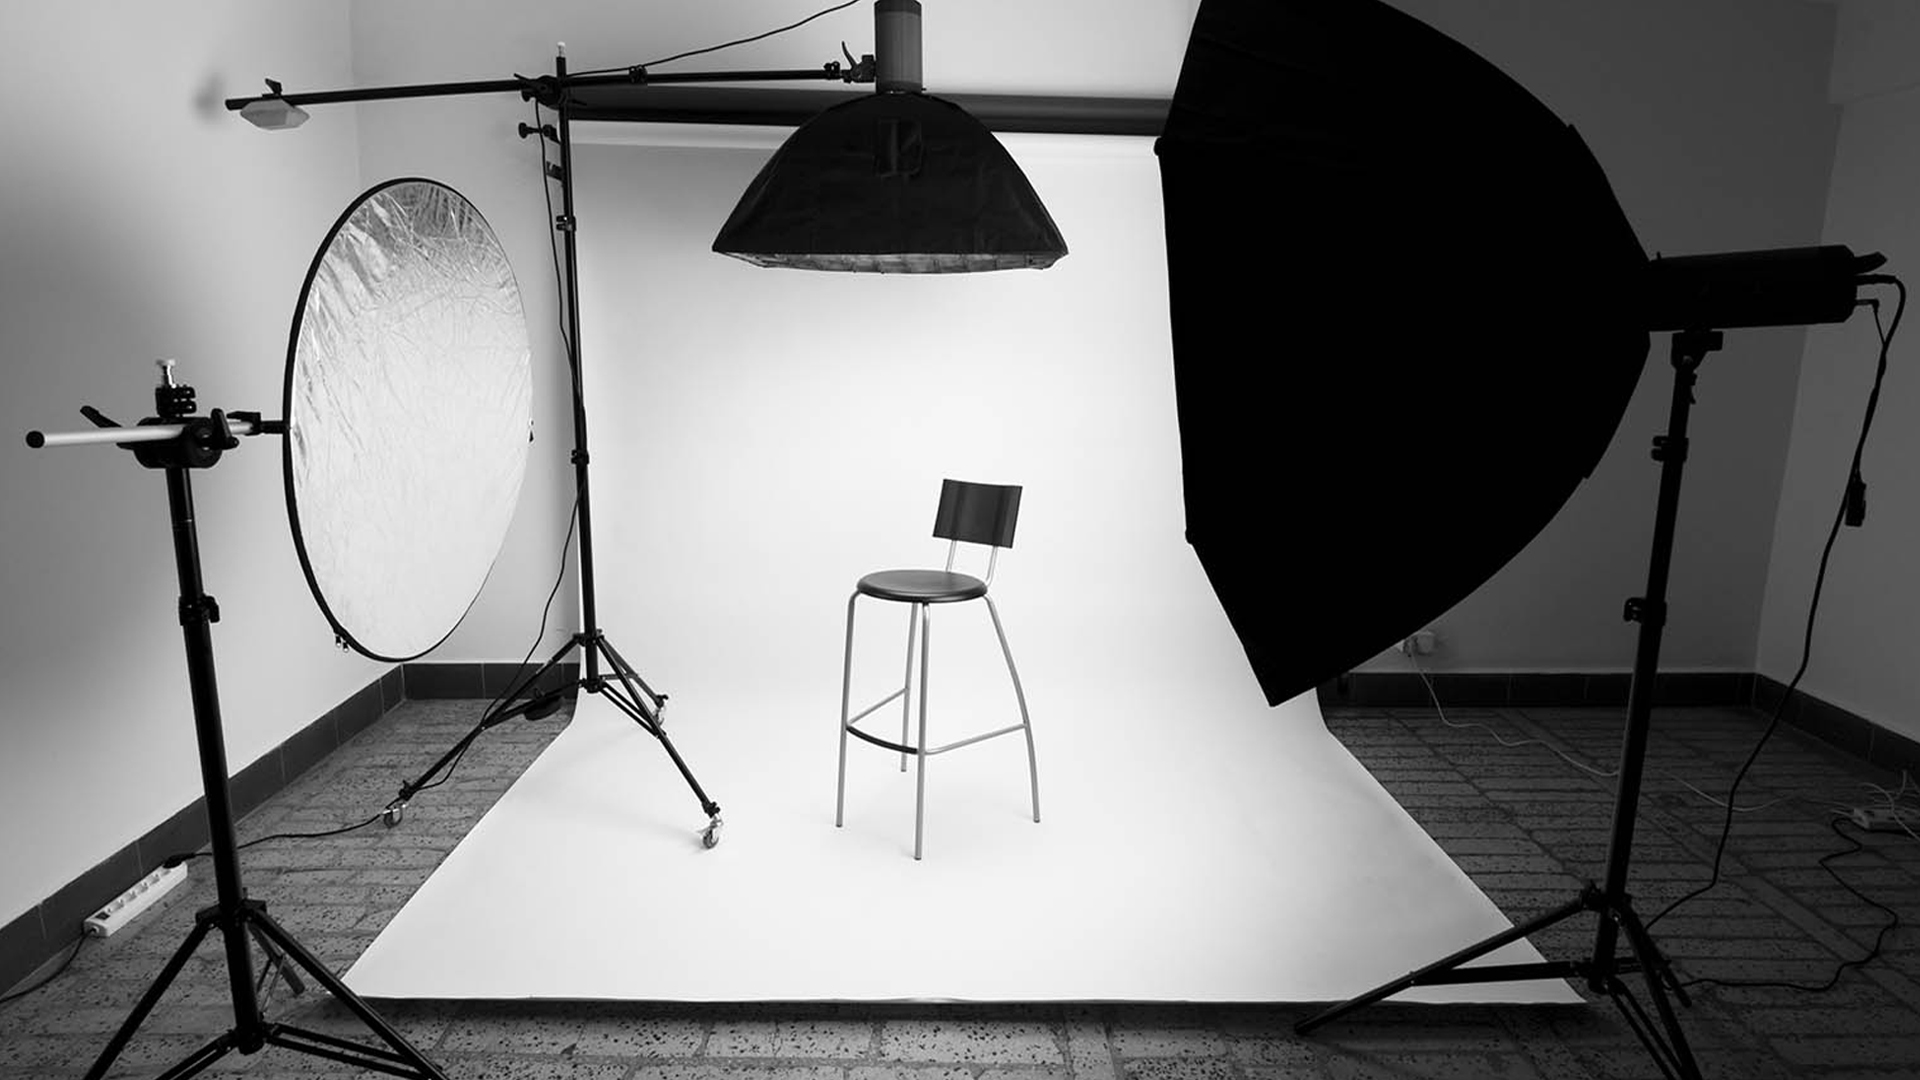
Step 2: Set Up Light Stands
- Extend the light stand to the desired height.
- Secure the Godox light using the mounting bracket.
- Ensure the stand is stable to prevent tipping over.
Step 3: Attach a Softbox or Modifier
- Use a Godox softbox (60x90cm) for soft, diffused light.
- For more directional light, use a reflector or beauty dish.
- Attach the modifier securely to avoid accidental falls.
Step 4: Position Your Lights for the Best Effect
Studio Portrait Setup
- Place the main light at a 45-degree angle to the subject.
- Use a fill light on the opposite side for softer shadows.
- Add a backlight for depth and separation.
Product Photography Setup
- Use a Godox light box for even lighting.
- Position two lights on opposite sides for balanced exposure.
- Adjust intensity to highlight textures and details.
Step 5: Adjust Light Power and Settings
- Increase or decrease brightness depending on your scene.
- Use the Godox remote control to tweak settings without touching the lights.
- Test shots and fine-tune angles for the best results.
Tips and Reminders for a Perfect Godox Setup
- Always diffuse your light for softer shadows.
- Experiment with angles to avoid harsh reflections.
- Use a combination of lights for depth and dimension.
- Check white balance to maintain color accuracy.
Conclusion
A well-executed
Godox light setup can transform your photography by
enhancing details, reducing shadows, and ensuring balanced exposure. Whether you’re shooting
portraits, products, or creative projects, understanding how to set up and adjust
Godox lights will elevate your work.
Looking for the best
Godox lighting equipment? Browse our collection for
studio lights, softboxes, and accessories to take your photography to the next level!